
In today’s fast-paced digital landscape, keeping your website visitors engaged and informed is paramount. Push notifications are an effective tool to achieve this, providing real-time updates and communication.
In this guide, we’ll walk you through the process of integrating Notix push notifications into your WordPress website, helping you boost user engagement and drive traffic.
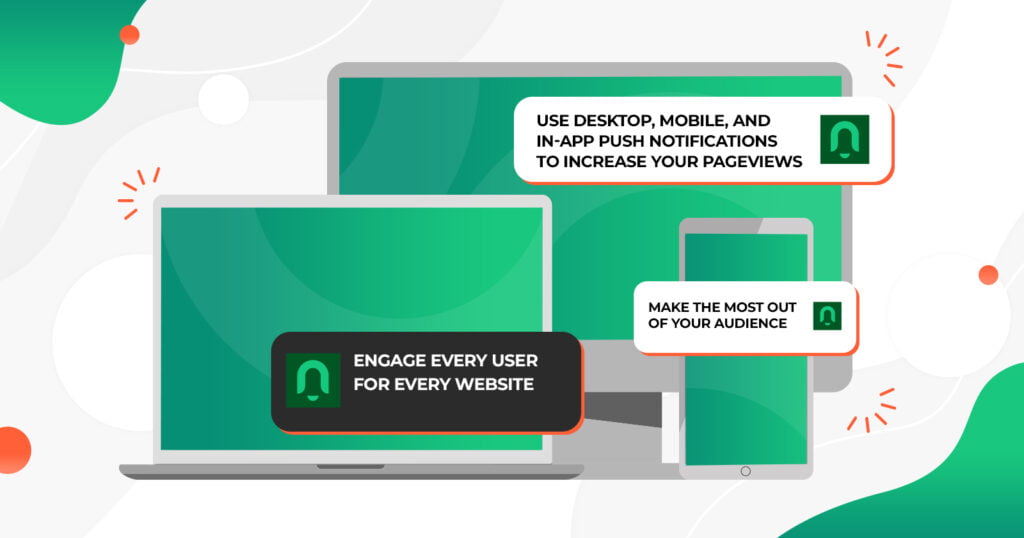
Why Choose Notix Push Notifications?
Notix is a user-friendly and powerful push notification platform that allows website owners to send targeted messages directly to users’ devices. Its seamless integration with WordPress makes it a popular choice for enhancing user engagement. With Notix, you can create personalized notifications, promote content, and increase conversions.
Getting Started with Notix
- Sign Up for Notix Account: Begin by creating an account on the Notix website. Provide your website details and select a suitable plan based on your needs.
- Install Notix Plugin: Log in to your WordPress dashboard and navigate to the “Plugins” section. Search for the Notix plugin, install it, and activate it.
- Generate API Key: In your Notix account, generate an API key. This key will establish a connection between your WordPress website and the Notix platform.
Integration Process
Now that you have the Notix plugin installed and your API key generated, let’s dive into the integration process:
- Configure Plugin Settings: Access the Notix plugin settings in your WordPress dashboard. Enter the API key you generated earlier. Customize notification appearance, behavior, and targeting options.
- Create Notification Categories: Categorize your notifications to deliver relevant content to different user segments. For instance, you can have categories like “Blog Updates,” “Special Offers,” and “News Alerts.”
- Design Compelling Notifications: Craft attention-grabbing notification messages. Use a mix of text, images, and emojis to make your notifications visually appealing and engaging.
- Set Triggers and Timing: Determine when and how your notifications will be triggered. You can send notifications based on user actions, such as visiting a specific page or completing a purchase.
- Optimize for Mobile Devices: Ensure that your notifications are responsive and look great on both desktop and mobile devices. Test different formats to find the best-performing one.
Leveraging Notix Features
Notix offers several advanced features to enhance your push notification strategy:
- Geo-Targeting: Send notifications to users based on their geographical location, making your messages more relevant and timely.
- A/B Testing: Experiment with different notification variants to identify what resonates best with your audience.
- Segmentation: Segment your user base based on various factors like interests, behavior, or demographics, and tailor your notifications accordingly.
- Analytics and Insights: Utilize Notix’s analytics dashboard to track the performance of your notifications. Monitor click-through rates, conversion rates, and user engagement.
FAQs (Frequently Asked Questions):
Q1. How do push notifications benefit my website?
Q2. Can I customize the appearance of my notifications?
Q3. Are push notifications intrusive to users?
Q4. Can I schedule notifications for specific times?
Q5. Is Notix compatible with mobile devices?
Conclusion:
Incorporating Notix push notifications into your WordPress website can transform your user engagement strategy. By delivering relevant content directly to users’ devices, you can keep them informed, engaged, and eager to explore your offerings. With this comprehensive guide, you’re equipped to seamlessly integrate Notix push notifications and maximize the impact of your online presence.